Now, I'm not certain that I've made a pinata since high school spanish class, so I was pretty much winging it. Luckily, it isn't hard to make a pinata. In a nutshell, here is my version of the instructions (Note, if you're starting more than 24 hours before delivery of your pinata, you might want to click over to my two inspiration blogs for better instructions. Otherwise, here you go--).
Materials:
Balloon (blow it up first to be sure your pinata will be the right size)
Several pieces of newspaper torn into one inch strips
Paper Mache mixture
Something to hang the pinata with while it dries
Paint and foam brush
Instructions:
1. Start with your paper mache mix. I just filled a bowl with warm water, regular white school glue and all purpose flour. Wisk it all together until it makes a thick mixture. Spread out newsprint to protect your table or floors from the mixture.

2. Blow up your balloon to the appropriate size. One at a time, dip strips of newspaper into your mixture, wipe off the excess gloppy bits, and stretch the strips of paper across the balloon. Continue until the entire balloon is covered, then hang it up to dry overnight. I put mine in a doorway of a room with a ceiling fan turned on so that it blew a little and dried evenly. Also, I put a pan under the pinata to catch drips.

3. This is where my pinata started to become a dragon's egg (as opposed to some other kind of pinata). First I popped the balloon and pulled it out. There will be a small hole where the balloon was knotted. Don't worry about that just yet. I used a small gauge wire to create a loop over that hole. The loop will be used to hang the pinata later. After I put in the loop, I painted the entire pinata a base coat of black paint. Then, I saturated a short strip of newspaper in black paint and covered the open hole underneath the wire loop. Because the paint was still wet, it adhered really well. Hang the pinata to dry again.
 |
| The hole from the balloon knot. Now you see it (above); now you don't (below). |

4. My dragon's egg inspiration used several colors of paint to approximate a dragon's egg. I only used two, and I don't know that it didn't turn out almost as well. First, I sponged blue paint all over the pinata. The black still showed through in some places, but coverage was pretty good. Then, when the blue paint was just barely starting to dry, I sponged a metallic gold paint over the egg. I think it turned out really well. One one hand, I think that it would have been nice to paint the pinata with the balloon still blown up inside, but on the other hand, painting it after led to some really cool 'vessel-like' wrinkles on the surface of the egg.

5. So up to this point, this is still just a paper mache egg. To turn the egg into a pinata, I cut a medium size hole in the 'fat' end of the egg. Fill the pinata with whatever candy or other filling you want. Then, cut several strands of string (I used extra pieces of raffia left over from my dragon's nest) and punch holes in the flap you cut out of the pinata. I knew that there would be ten or so children at the party, so I punched ten holes and strung raffia through each. Secure the raffia with a knot, then place the flap back over the hole. I used scotch tape to hold it all in place. Note: I'm not certain that I didn't put too much candy into the pinata for the scotch tape to support the flap. I woke up the next morning thinking that it would have worked better if I'd had a larger circle to place inside the pinata and hold the candy a little better.
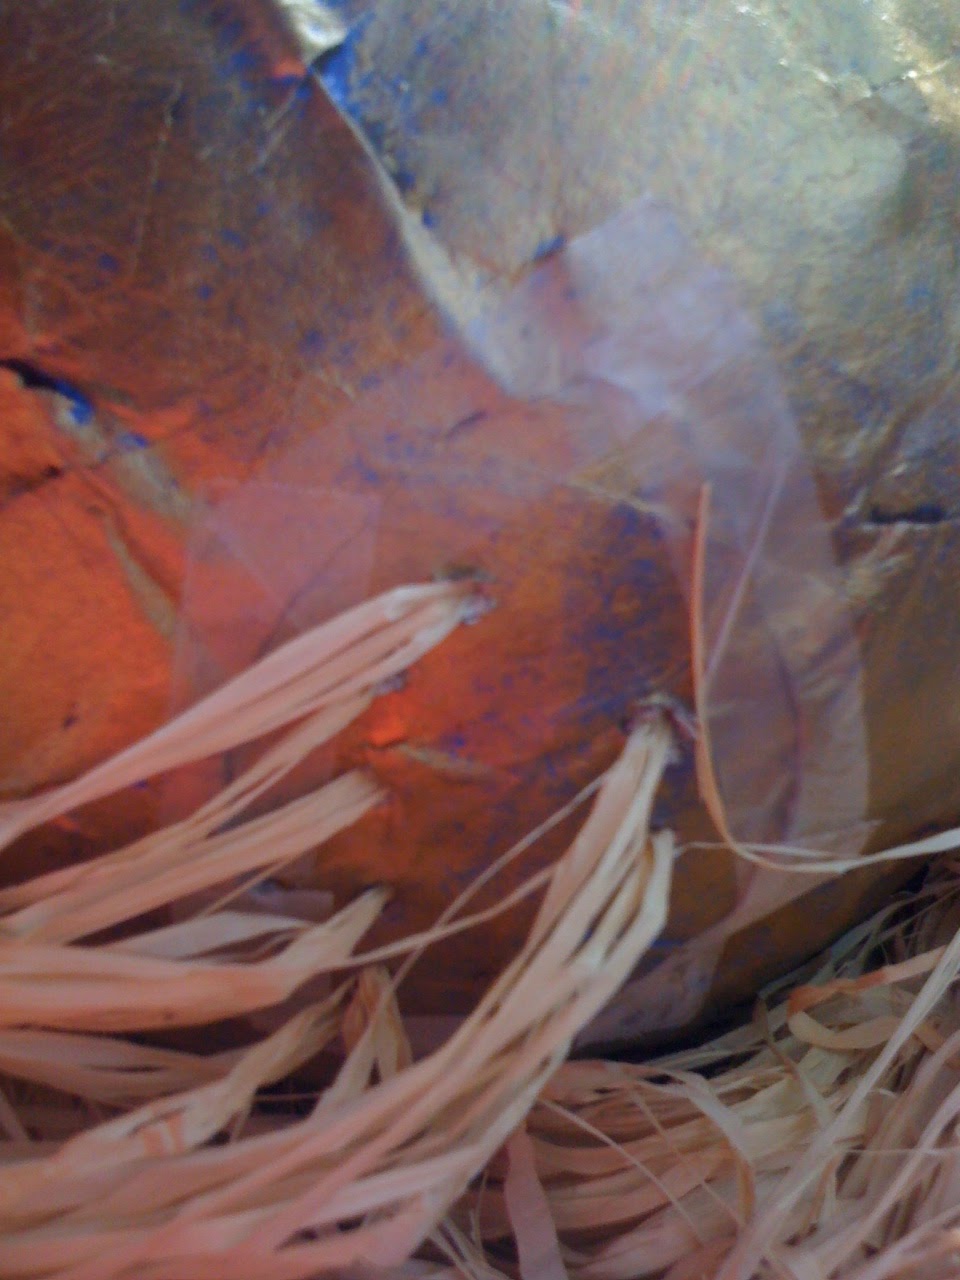
For the presentation, I picked up a gold charger from Michael's and created a nest out of raffia to place the pinata on. I wrapped the strings of raffia hanging out of the bottom around as well and worked it into the nest as well. H recognized it immediately as a dragon's egg (success!), and I've since seen pictures of it being used in play with his brothers, too!
I've linked up this week to Beth's How To linky party. Definitely check it out for some great tutorials!!
1 comment:
Thanks for the shout out! =) You're dragon's egg pinata looks great!
Post a Comment